安装数据库

  1. 下载

下载地址:Download MongoDB Community Server | MongoDB
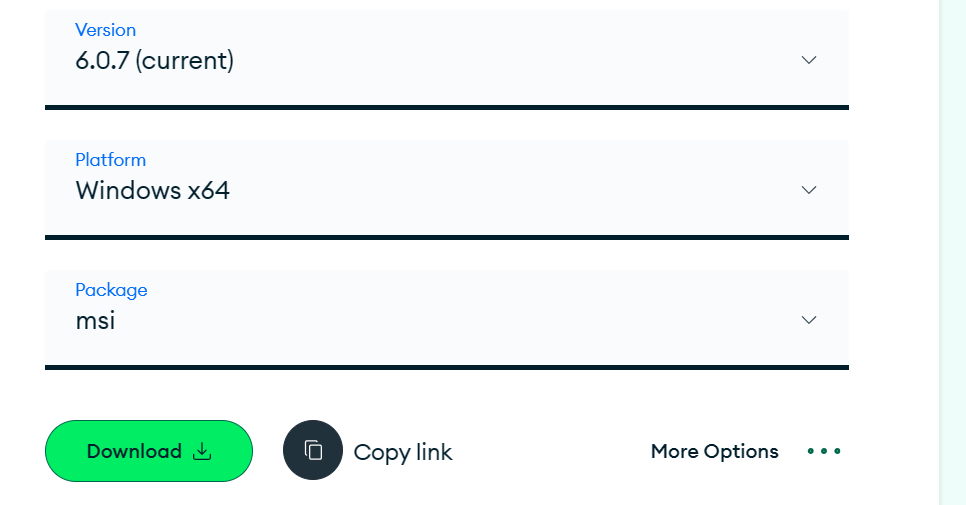
image-20230712185247305

根据提示选择不同的版本、平台以及安装形式,在这里采取默认 即可。

点击绿色按钮 Download 即可下载。

文件较大,请耐心等待…

安装包信息:

文件大小: 482.433MB

下载耗时:5~8分钟(根据自己的情况而定)

  1. 安装

双击下载的文件:mongodb-windows-x86_64-6.0.7-signed.msi
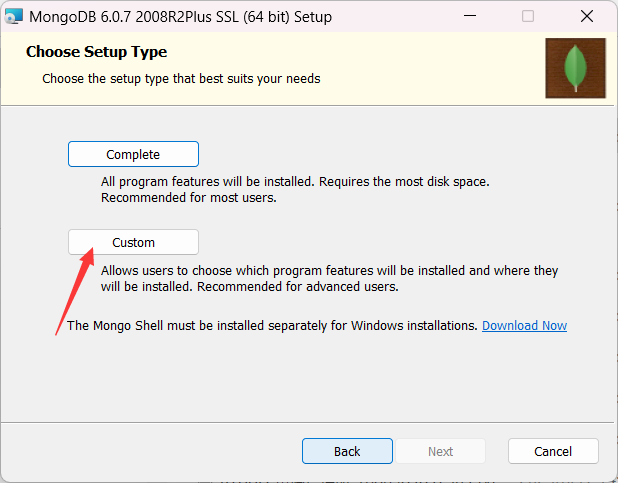
image-20230712190525028

选择自定义安装。

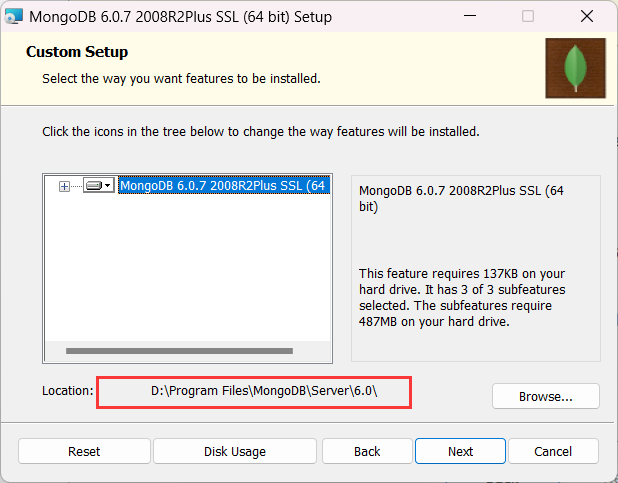
image-20230712190603575

选择 D盘 ,建议。

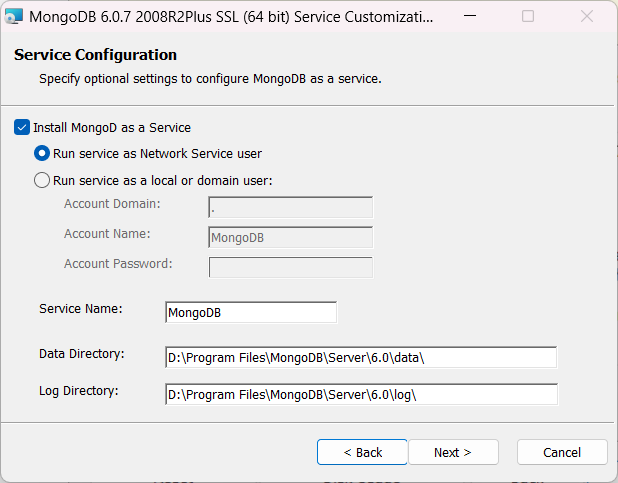
image-20230712190710947

默认即可,数据目录(Data Directory)和日志目录(Log Directory)记住。

剩下的,全部下一步(Next > )即可。
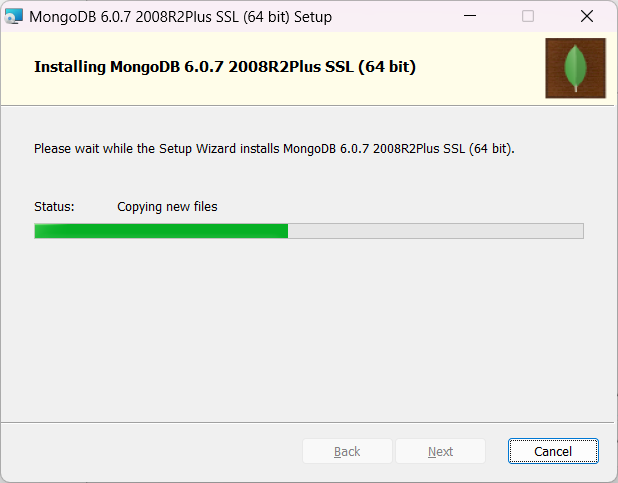
image-20230712190915728

等待安装完毕!安装完后,会自动弹出 Compass (一个可视化数据库管理页面)。

基本命令

数据库的创建

切换数据库(如果没有,会在内存中创建一个新的数据库)

1
use fly_articleDb;

使用 db 查看当前数据库

1
db

删除当前数据库

1
db.dropDatabase();

集合的相关操作

Collection 在数据库中的集合,里面可以有多条记录(Json数据)

可以等同于 Mysql 中的数据表。

通常我们一般隐式创建,我们不需要关注集合是如何创建的。

创建一个集合

1
db.createCollection("test")

查看当前数据库下的集合

1
show collections

删除集合(这里以 test 为例),这里的 test 应该换成响应的集合名称。

1
db.test.drop();

文档的相关操作

都是以 JSON 为主。集合名可以存在,也可以不存在(隐式创建)。

增加数据。

1
db.集合名.insertOne(传入json数据)

查找数据

1
2
3
4
db.集合名.find()
db.集合名.findOne(); # 只查询一条记录
db.集合名.find(传入json数据进行筛选)
db.集合名.find(传入json数据, {字段: 1, 字段: 0}) # 其中1表示显示,0表示隐藏

插入多条数据

1
db.集合名.insertMany(传入json数据) # 其中传入的 json 数据,以 [] 开头和结尾

修改数据。其中 $set 还有 $inc 等…

对于要将字符串转变成数字,可以采取 NumberInt 进行包裹。

1
db.集合名.updateOne({查询条件}, {$set: {修改数据部分}})

其余方法可以尝试:

  • updateMany
  • updateOne
  • updateSearchIndex

删除数据

1
db.集合名.remove(查询条件)

删除所有数据

1
db.集合名.remove({})

文档的分页查询

查询总个数

1
db.集合名.countDocuments()

分页查询:limit 和 skip

  • limit 限制查询条数,等同于每页显示多少条
  • skip 跳过前面条数
1
2
db.集合名.find().limit(数字)
db.集合名.find().limit(数字).skip(数字)

排序:sort,根据传入的字段决定是升序(1)还是倒序(-1)

1
db.集合.find().sort({传入json数据})

文档的其他查询

正则查询。

基本格式如下:

1
db.集合名.find({字段: /正则表达式/})

查询的其他方式:

  • $gt 大于
  • $lt 小于
  • $gte 大于等于
  • $lte 小于等于
  • $ne 不等于
  • $in 包含查询,等同于 mysql 的 in 查询
1
db.集合名.find({userId: {$in: [1,2]}})
  • $nin 不包含查询
  • $and 并列运算
1
db.集合名.find({$and: [{}, {}]})
  • $or 或运算,和 $and 类似

索引

索引有 单索引、复合索引以及其他索引。

查看索引

1
db.集合名.getIndexes()

创建索引

1
db.集合名.createIndex({字段: 1}) # 1 表示升序 , -1 表示降序

删除索引

1
db.集合名.dropIndex(索引名称)

删除所有索引

1
db.集合名.dropIndexes()

NodeJs 操作 Mongodb

安装 npm 包

1
npm i mongodb

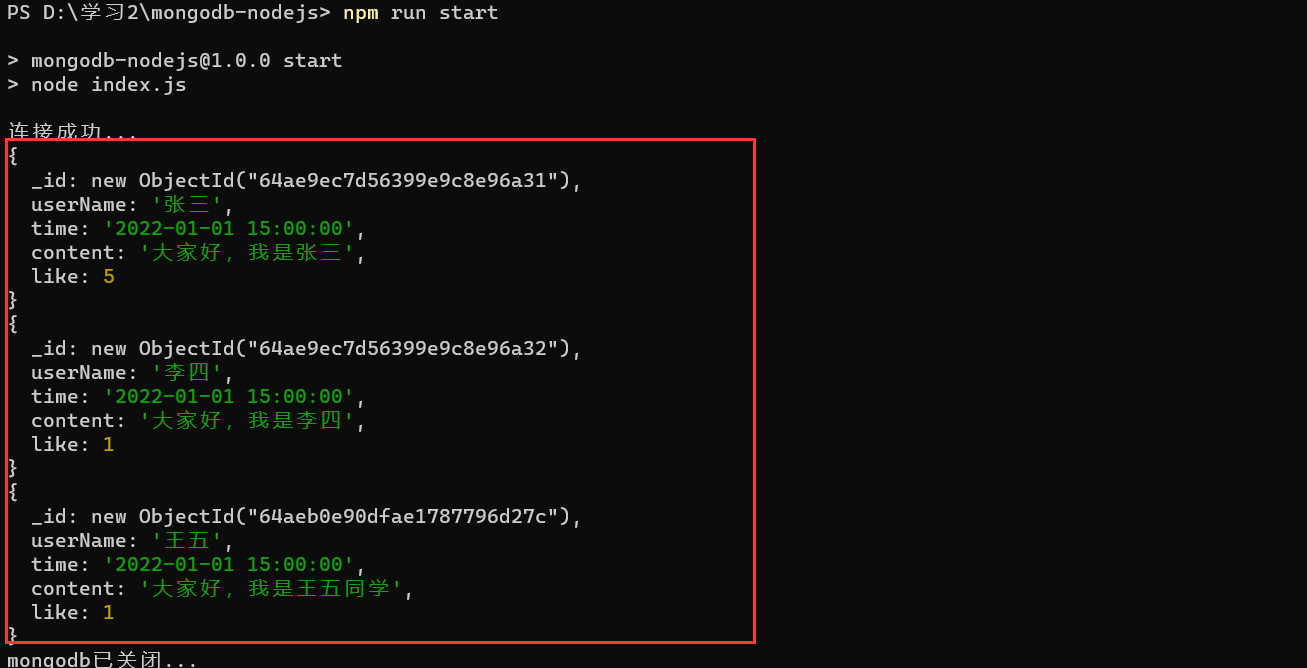
基本模板,操作 mongodb。一般情况下都是异步获取

1
2
3
4
5
6
7
8
9
10
11
12
13
14
15
16
17
18
19
20
21
22
23
24
25
26
27
28
29
30
const MongoClient = require('mongodb').MongoClient;
// 数据库可以更改
const db_name = "fly_articleDb";
const url = 'mongodb://127.0.0.1:27017';

(async function () {
const client = new MongoClient(url);

try {
// 1. 连接 mongodb 数据库
await client.connect();
console.log("连接成功...");
// 2. 使用数据库fly_articleDb
const db = client.db(db_name);
// 3. 通过数据库得到相应的集合test【这里也可以操作自己的集合】
const test = db.collection("test");
// 4. 查询 test 集合中的文档【这里只是查询,其他方法跟mongodb类似】
const test_list = test.find();
// 判断是否有文档
while (await test_list.hasNext()) {
// 获取该条数据
const currentData = await test_list.next();
console.log(currentData);
}
} catch (e) {
console.log(e);
}
await client.close();
console.log("mongodb已关闭...");
})();

image-20230713123234366

SpringBoot 操作 mongodb

创建 springboot ,并且添加依赖。

1
2
3
4
<dependency>
<groupId>org.springframework.boot</groupId>
<artifactId>spring-boot-starter-data-mongodb</artifactId>
</dependency>

配置文件 application.yml

1
2
3
4
5
6
7
8
spring:
data:
mongodb:
host: 127.0.0.1
database: fly_articleDb
port: 27017
# 可以采取 mysql 写法
# uri: mongodb://127.0.0.1/fly_articleDb

运行 SpringBoot ,查看是否连接成功。

连接成功后,SpringBoot 日志会显示下面红线部分,成功连接 mongodb。

image-20230713130049546

创建实体类

bean 包下创建 Comment 类

1
2
3
4
5
6
7
8
9
10
11
12
13
14
15
16
17
18
19
20
21
22
23
24
25
26
27
28
29
30
31
32
@Data
// comment 集合(类名相同时,可以省略)
@Document(collection = "comment")
// 复合索引
//@CompoundIndex(def = "{'userId': 1, 'nickname': -1}")
public class Comment {
// @Id // 可以省略,当变量名为 id
private String id;
// @Field("content") 变量名相同时可以省略
// 评论内容
private String content;
// 发布时间
private Date publishTime;
// 添加单字段索引
// 发布人id
@Indexed
private String userId;
// 昵称
private String nickname;
// 评论的日期时间
private LocalDateTime createDatetime;
// 点赞数
private Integer likeNum;
// 回复数
private Integer replyNum;
// 状态
private String state;
// 上级id: 具体回复那个用户
private String parentId;
// 文章id
private String articleId;
}

DAO 接口

1
2
public interface CommentRepository extends MongoRepository<Comment, String> {
}

然后写 Service 层和 Controller 层,具体的调用方法和 Mysql 类似。本文不再阐述。

测试

查询所有评论

1
2
3
4
5
@Test
public void find() {
List<Comment> comments = commentService.findComments();
System.out.println(comments);
}

image-20230713142753307

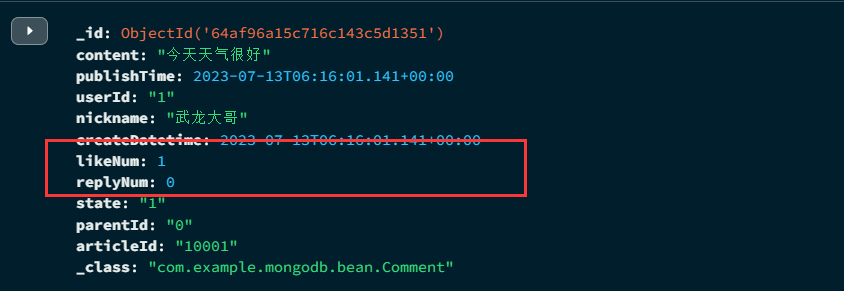
点赞功能

类似于 mongodb 的 $inc,需要借助 MongoTemplate

1
2
3
4
5
6
7
8
9
10
11
12
@Autowired
private MongoTemplate mongoTemplate;

/**
* 更新点赞
*/
public void updateLikeNum(String id) {
Query query = Query.query(Criteria.where("_id").is(id));
Update update = new Update();
update.inc("likeNum");
mongoTemplate.updateFirst(query,update,Comment.class);
}

更新前:

image-20230713145628439

更新后:

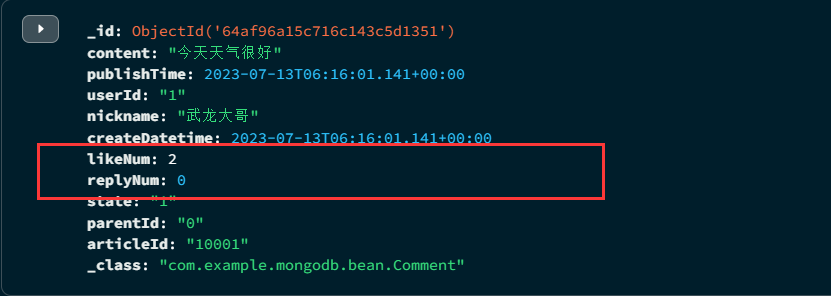
image-20230713145713176